Neat and Organized: A Guide To Decluttering and Maximizing Your Space

Neat and Organized: A Guide to Decluttering and Maximizing Space

Recently, Neat organized a large and spacious kitchen and pantry.

We always begin the organizing process by removing everything from the spaces we organize—every drawer, cabinet, and shelf.

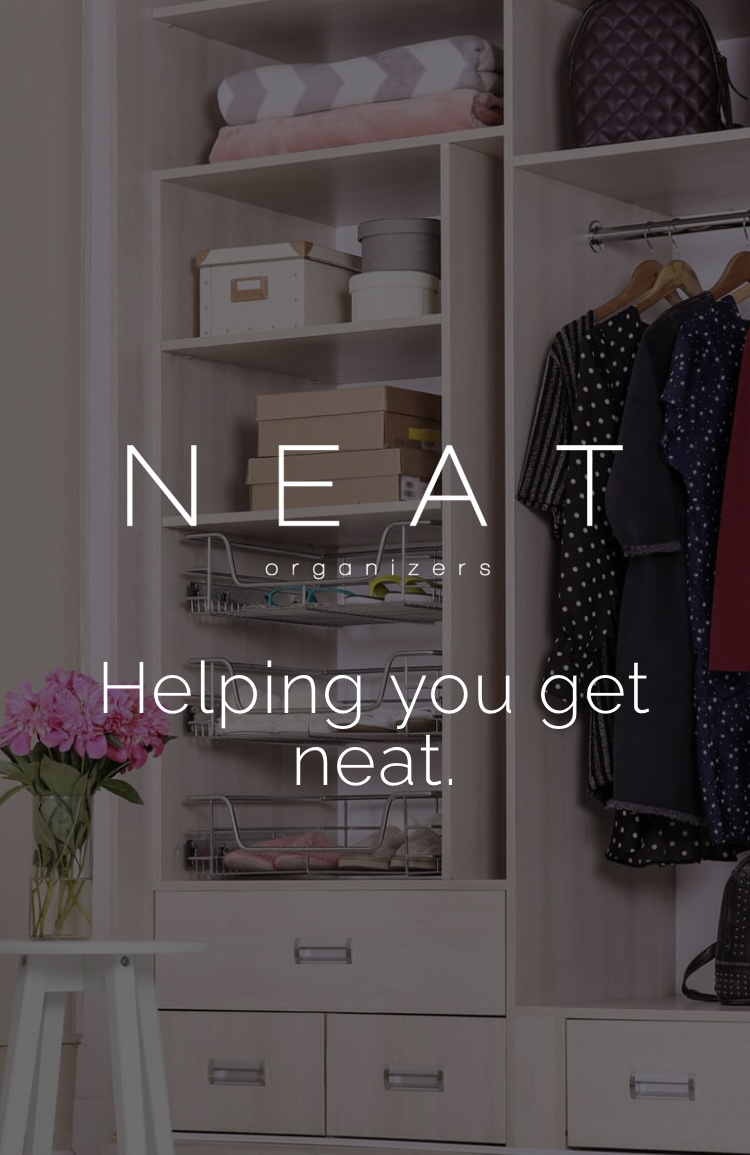
We did the same in another home: our client’s master closet.

So often, as life goes on, we end up with things in areas of our homes that don’t necessarily belong in that area.

For example, tools, medicine, or paperwork in the kitchen. Serving trays, candles, and holiday decor in the pantry.

Master Closets can become a drop zone for many things besides clothes, shoes, and accessories. When Neat organizes, we do our best to remove anything that does not belong in the correct place.

We work with our clients to declutter and purge what does not belong in a particular area.

I often see areas full of “stuff” and other areas, which I call prime real estate areas, not being utilized.

Once the purge/declutter/donate/trash/relocate happens, our clients will be amazed at the space available in their kitchen, pantry, and closet! 

If you want to do a quick reset of any area of your home, start by removing anything that does not belong in that area. Empty one drawer, one shelf, and reset one space at a time. 

Do you ever spend more time than needed looking for something? Get frustrated because you can’t find a shirt, a pair of earrings or documents you need asap? Once you relocate things to their correct place in your home you will be amazed at how quickly you will feel less stressed and distracted.

Get Neat and Organized over the summer one space at a time!

Happy Organizing

Edit and Organize like a Pro

Edit and Organize like a Pro

•You need boxes: Amazon boxes, plastic boxes, cloth shopping bags, trash bags, etc. 

•Sticky notes and a Sharpie. Create labels for boxes: Donate, Return, Resell, Recycle, Trash and other locations (items that belong somewhere else in your home).

•Cleaning supplies: always begin organizing with a tidy and clean space.

•Tape measure to measure shelves, drawers, and cabinets if you want to add organizing products: bins, baskets, etc.

• Use sticky putty dots when organizing a drawer or cabinet; use them under containers to prevent slippage. 

• Notepad and pen project-related notes.

•Label maker or chalk pen.

•Remove all contents from the space you are organizing; begin with a clean slate.

•Categorize and sort. Put like items together; for example, if you’re organizing your pantry, put breakfast items together, condiments together, and so forth.

This category or items in a zone goes for any area you’re organizing: Closet, drawer, pantry, etc.

Ask yourself these questions:

What needs to be discarded? What needs to be donated? 

Do I love it? Use it.

Do I have duplicates?

Is it broken?

Does it belong to me? (Borrowed and needs to be returned).

Would I want it if I didn’t already have it?

Is it expired?

Am I saving it for someone else? 

This process may be time-consuming and for some emotional, and that’s completely ok.

Containers and Organizing Products! This is where the fun begins. Bins, baskets, trays, carts, drawer dividers and more! And don’t forget to measure the space you’re organizing. Even if you have a zero product budget, please don’t let that slow you down. Shoe boxes and Tupperware work, too! Most of the products will be stored in other spaces like closets and pantries. You can always go back and replace it. 

Maintain

Once each category item has a home, you will always know where to return them. 

Happy Organizing🏠
Paige